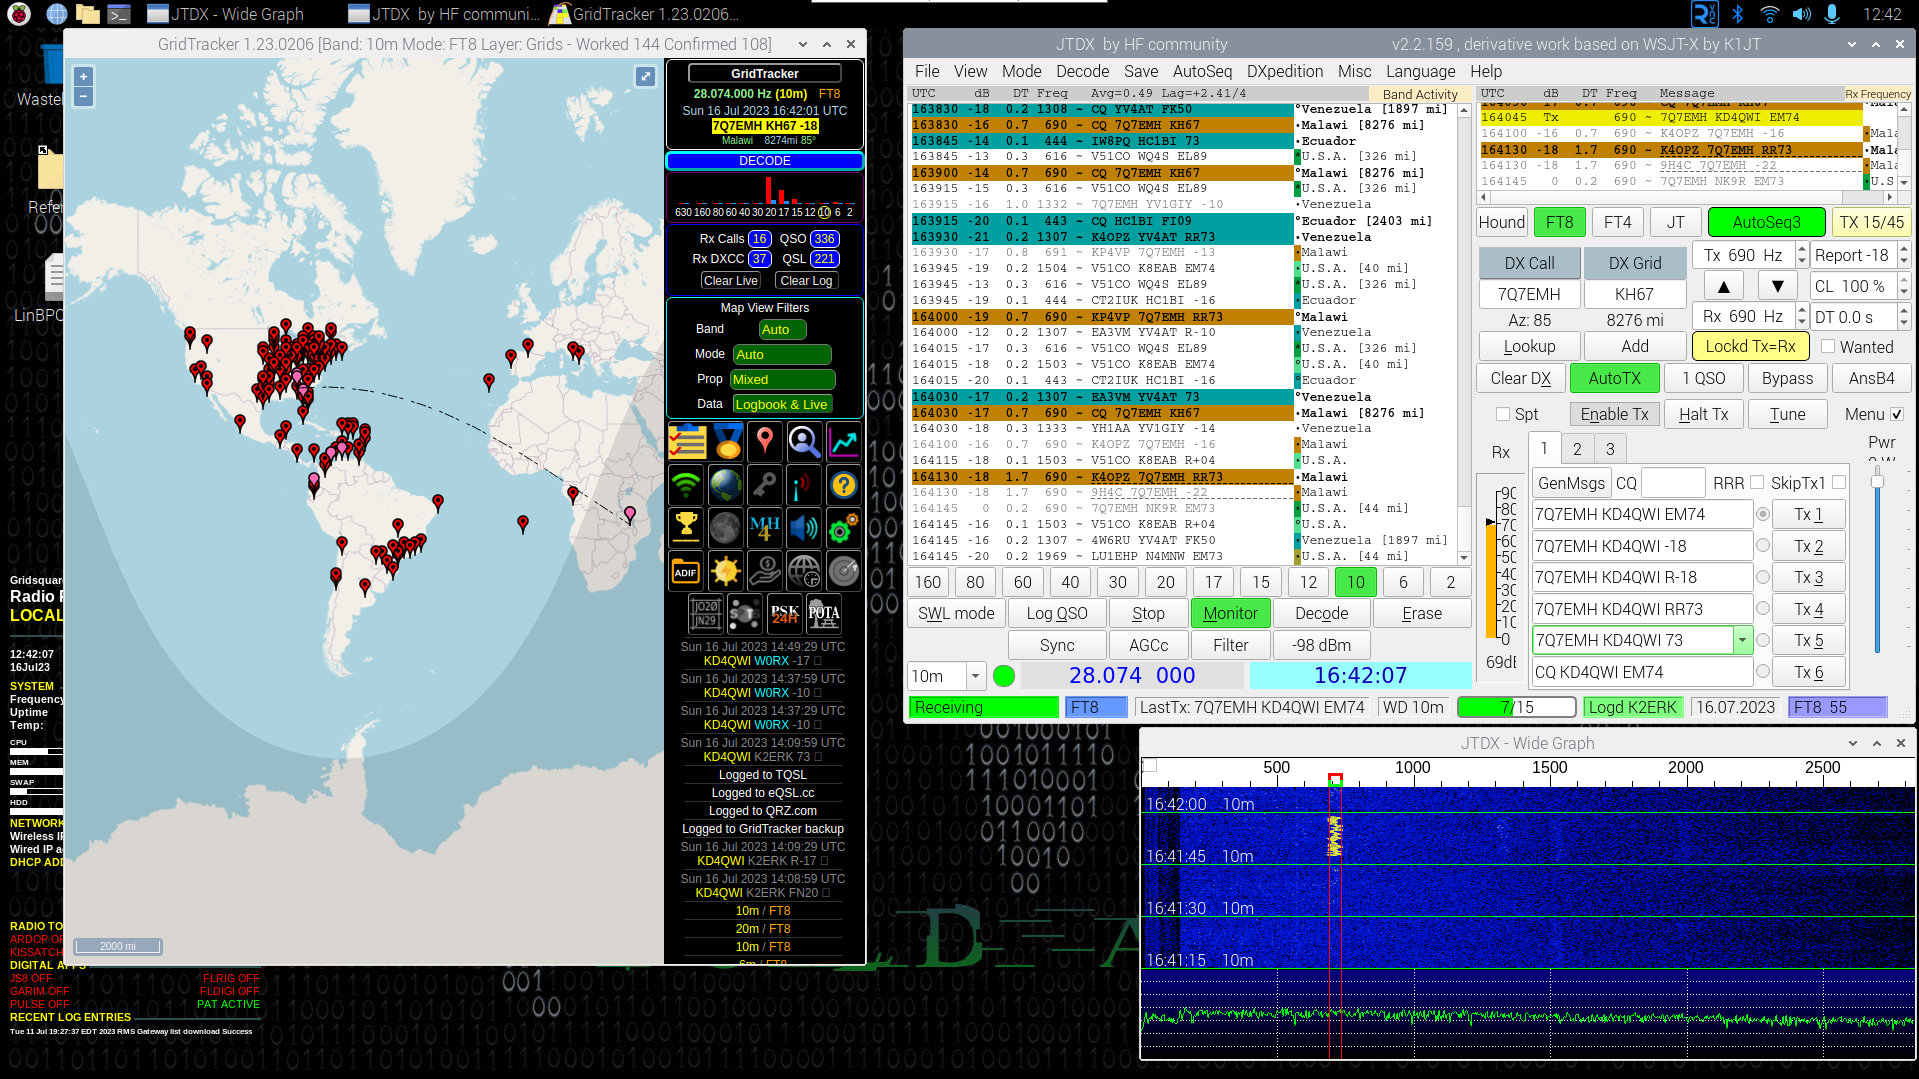
I’ve been using raspberryPi computers for years now. Mostly for home projects or for things like powering my Christmas light display with Falcon Pi Player. Recently I’ve been wanting to build a mobile computer that would allow me to do all of the digital things (like FT8, WinLink, APRS) I could do with a regular laptop hooked up to a radio but with the raspberry pi platform. Even more now that the supply of the pi is picking back up.
In this post, we’re going to look at the steps I took to get a raspberrypi 4 up with KM4ACK’s Build-A-Pi image, in the next we will look at what it takes to get it connected to my Xiegu X6100 for FT8 Operations. In the future, I’ll document the rest of my build as I add functionality and battery power to it so that I can grab the radio and the box and head out to do some POTA/SOTA operation on the digital side or more.
Note: Yes, the X6100 can run the software via an SD Card, however the screen is fairly small and its still not a stable and reliable enough method. Not to mention I’m sure it uses more battery if the radio is doing ALL of the heaving lifting
For this project I am using a RaspberryPi 4, 4Gb module. I do have a cooling case on it as well, it doesn’t need it at the moment where I have it running (a dark cold corner of my basement) but eventually when its mounted in its final home, the fan cooled case will help with temp issues. First things first are to grab a MicroSD card and get it formatted and written with the RaspberryPi OS. I recommend at least a 16gb card and really a 32gb card for this project. I don’t need a ton of storage space as I’m not going to be producing videos or storing a lot of large files on there, but the extra space is nice for when we do updates and upgrades.
I selected an “alternate” image as I want to make use of the arm64 architecture and not the default 32. Otherwise the process is the same. When you write the SD card you can go ahead and setup the Wifi and hostname. At a minimum I suggest changing the hostname to be something unique (for instance, I called mine HamBox). You also need to set the USERNAME and PASSWORD and make sure that SSH is enabled. The Wifi setup on the imager does not seem to take and I always end up connecting to the wired network at first (until I get VNC up and connected).
Once the card is written, pop it in the Pi and power the pi up. It takes a couple of minutes for the first boot, but once it is up and connected to your network, you can connect to the pi via ssh (if you do not have putty downloaded, you should do this while the card is being written).
Connect via SSh and you’re going to want to use the raspi-config to make some configuration changes. First, launch the config with
sudo raspi-config
Once the menu comes up, go to the display options and select your resolution for VNC. Then go to Interface Options and enable VNC. Under system options select the Boot/Autologin and set it to automatically log in with your user. Last but not least go to the Advanced Options and make sure that you are using the full SD card (on larger SD cards this is important so that all the space is available). Once you’ve finished the configuration, you can exit and reboot the pi.
You should now be able to connect to the pi using a VNC Viewer and when logged in you’ll have a nice graphical desktop.
When logged back in, launch a terminal and then run:
git clone https://github.com/km4ack/pi-build.git \
  $HOME/pi-build && bash $HOME/pi-build/build-a-pi
This will start the build process for the Build-A-Pi. KM4ACK has compiled this awesome script that adds a ton of amateur radio related software and functionality. You’ll be prompted to add your Callsign and Grid Square, you can select the software you want to add (for instance if you do not want any APRS software you don’t need it) and then you can walk away as it runs and installs everything selected. The process takes about 4 hours and when its done, you’re prompted to reboot and you have a box with all the ham goodness you could want.
To see it in action or for more information, check out his videos:
In the next post I’ll take a look at installing my FT8 software of choice, and setting it up with Gridtracker and the X6100

